Note:
You should have connected your Swingvy with Xero. If you haven’t, head to Connect with Xero
In this section, you will set up the settings for Xero integration in Swingvy.
Step 1 - Click “edit” at the top right of the “integrations” section. Check if you have connected to the correct Xero organisation. If you haven’t, head to Xero to disconnect Swingvy and connect to the correct organisation
Xero base currency follows the currency you have set up in Xero. Swingvy’s payroll follows the local currency based in your country (recommended). Do note on the currency exchange if the currencies in Swingvy and Xero differ.
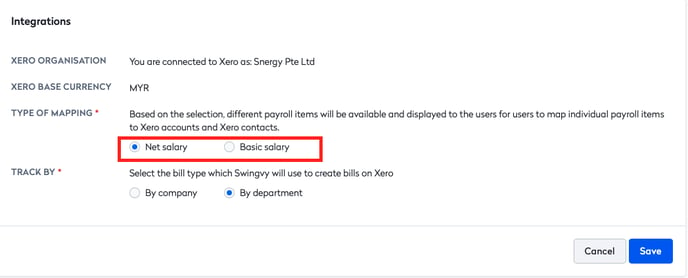
Step 2 - There are two options for the type of mapping. The list of payroll item displayed in payroll items mapping will be different depending on which type of mapping you choose to select
- Net Salary
The payroll items populated in payroll items mapping will contain payroll data of Net salary and statutory items
- Basic Salary
The payroll items populated in payroll items mapping will contain all payroll items from basic salary onwards
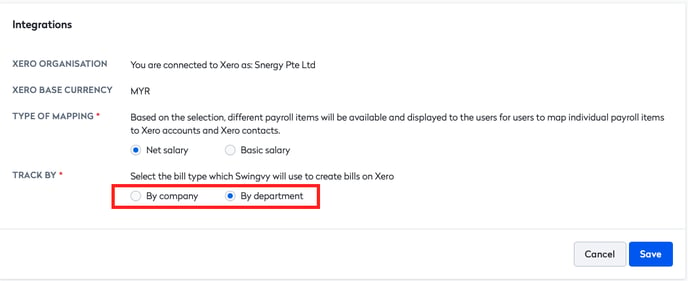
Step 3 - Select the bill type which Swingvy will use to create bills in Xero
- By company
If you select by company, every payroll item will create a bill in Xero on a company-level basis.
- By department
If you select by the department, bills will be created by the tracking category set up in Xero. Common usage would be on a department basis. Once “by department” is selected in Swingvy, you have the option to link each department set in Swingvy with each tracking category.
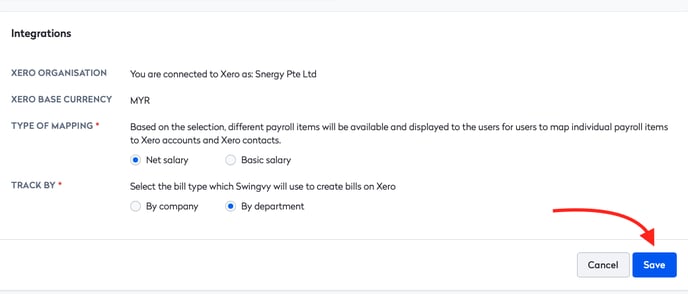
Step 4 - Click Save when you are done
Next step:
See also: