When you first sign in, your account may be pre-filled with sample data to help you explore Swingvy's features.
Once you've explored all the features and are ready to set up your company policy:
-
Navigate to HR Hub > Home > Click "Remove sample data" on your Task & Notification dashboard.
It’s recommended to remove sample data before entering real company information to ensure clean and accurate setup.

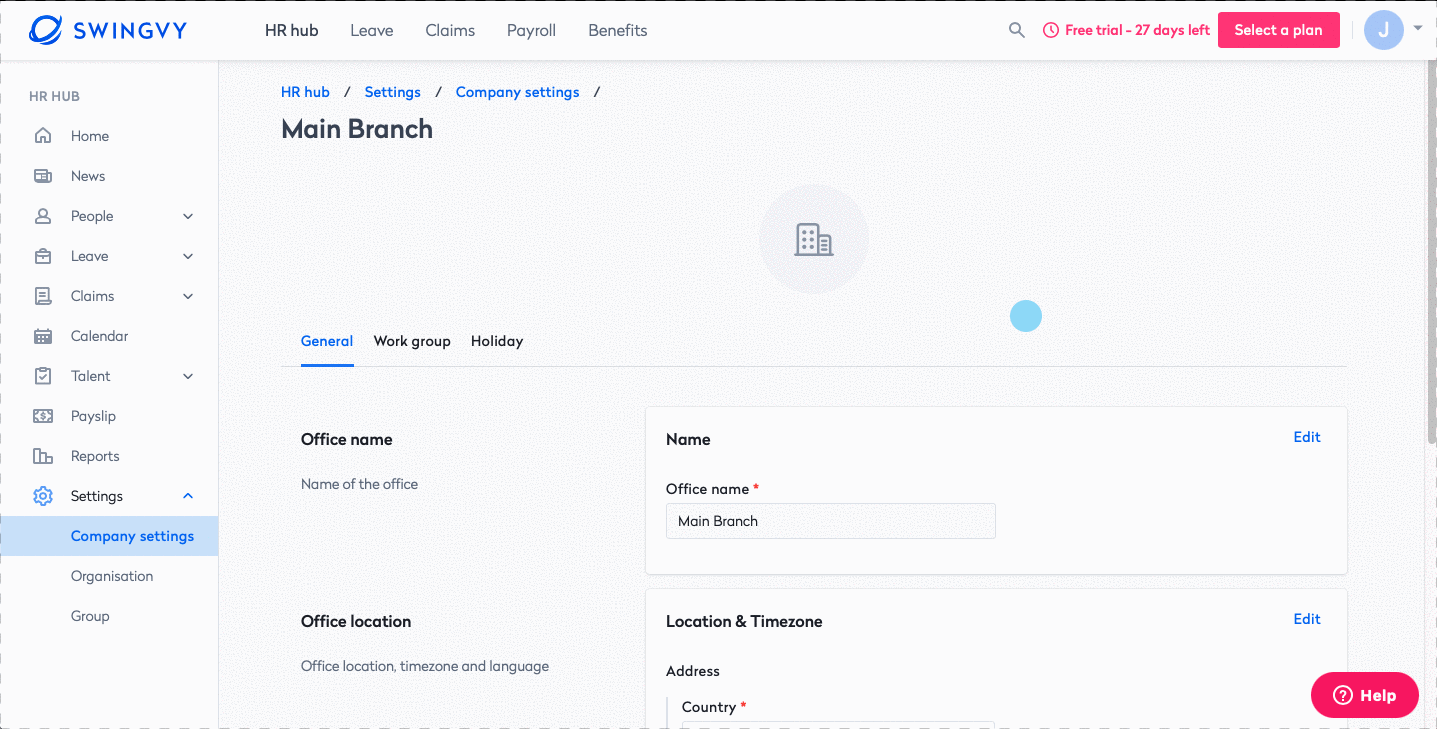
To begin setting up your company profile on Swingvy, follow these steps:
- Click on Continue at the Complete your profile banner
OR - Navigate to Hr Hub > Settings > Company settings
Things to consider in these steps
- Set your company name and logo
-
Configure your office details
1. Set your company name and logo
Set your company name and logo here.
Step 1 - Upload company logo
-
Click Choose File or drag-and-drop a file to upload your logo.
-
Requirements:
-
Max: 200 x 200 pixels
-
File size limit: 5MB
-
Formats: jpg, jpeg, png, gif
-
The logo will appear on payslips, invoices, and reports generated by Swingvy.
See add company logo
Step 2 - Enter your company name
Input your organisation name (e.g., Synergy Sdn Bhd, Synergy Pte Ltd). This is the company name that will appear on all of the payslips, invoices, and all reports generated by Swingvy.
2. Configure your office details
Office settings are where you enter basic info about your business, like your company address, workgroup, and company holiday.
You can add multiple branches of your company. See add company branch.
Follow the steps detailed below to update your office details:
Step 1 - Set your office location
Step 2 - Set a workgroup working schedule type
Select the office you want to configure. In this step, you will define the type of workday and choose employees that belong to this group.
You can also add a new workgroup and custom their workday schedule type.
Step 3 - Set company holiday
A holiday means a public holiday established by law in Malaysia/Singapore or any part of Malaysia/Singapore. See how to set up a company holiday