This article covers how to enable time tracking in your account.
Step 1 - Go to Time > Settings > Workgroups
Step 2 - Select Workgroup
Step 3 - Click Edit settings
Step 4 - Slide to activate Enable time tracking
Note:
Your office location must be set in advance in the HR hub setting (HR Hub > Company settings > Location). See how to set up your office location.
Step 5 - Set the Time log amendment approver
Step 6 - Set the Overtime approver


Note: The difference between time log and overtime is:
- Time log: The daily log in and out for work
- Overtime: Extra hours of work that an employee has done and wants to apply for
Step 7 - Set Overtime compensation and select Overtime payment policy
Step 8 - Save
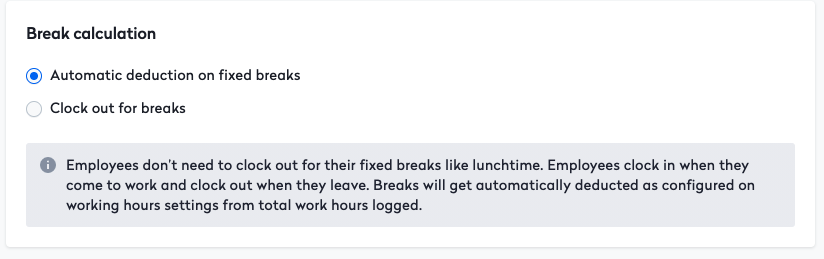
Time advanced setting (break calculation)
Now, you are about to define how you want to calculate the employee break calculation.
Example: The employee takes a one-hour lunch break.
- 8 hours - 1 hour
- The total hours worked for that day is 7 hours
Select "Automatic deduction on fixed breaks", if you want your employee's break to be automatically deducted.
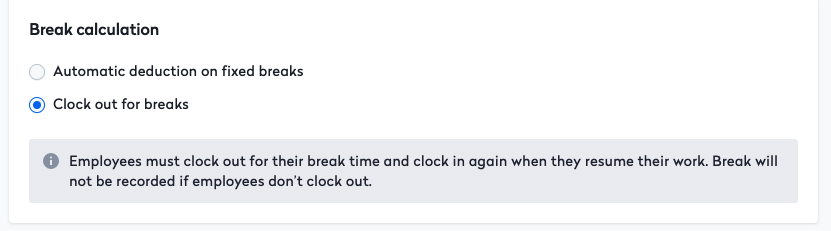
If you want your employee to clock out for their break time, and clock in again when they resume their work, select "Clock out for breaks"
If you provide overtime to your employees, you can continue to set up your overtime policy.
Read more: How to Reimburse overtime payment through Swingvy payroll